All the answers and secrets: how to glue the ceiling plinth
When the ceiling covering is ready, the last step to its decoration remains - you need a perimeter edging in the form of a baguette. At first glance, this is easy to do, attached and glued. In fact, not everyone knows how to glue a ceiling plinth. The homemaster.techinfus.com/en/ editorial staff can help with advice, so we will immediately study this topic and learn all the secrets of mastering fillet gluing.
The content of the article [Hide]
- 1 Types of ceiling plinths with photo samples: is there a great choice of baguettes
- 2 How to glue the ceiling plinth correctly: glue or putty
- 3 For perfection in detail: how to shape corner and intermediate joints
- 4 What to glue first: wallpaper or ceiling plinth
- 5 Tips on how to glue skirting boards to different types of ceilings
- 6 How to finish a ceiling plinth
- 7 Video: how to glue a ceiling plinth
Types of ceiling plinths with photo samples: is there a great choice of baguettes
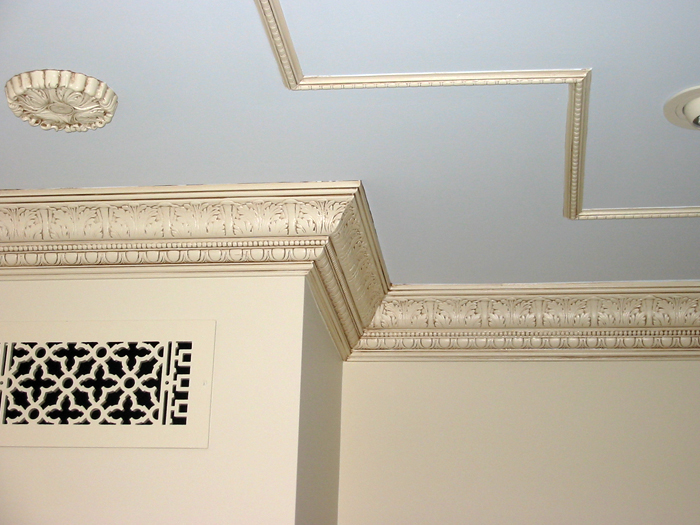
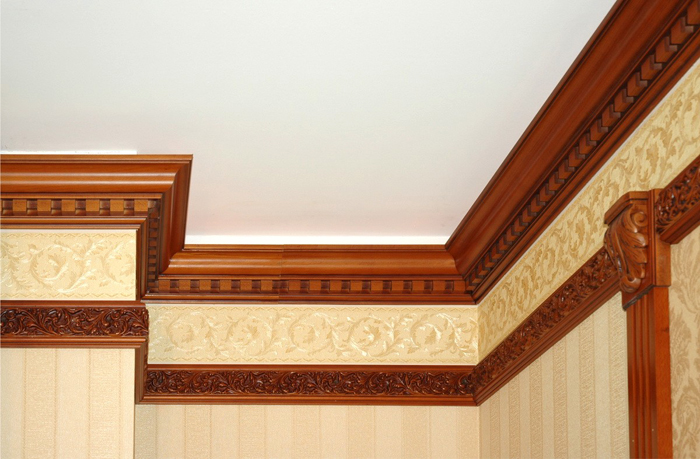
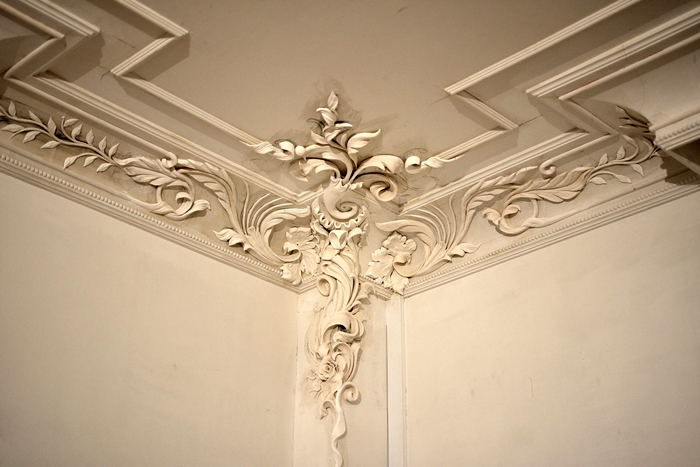
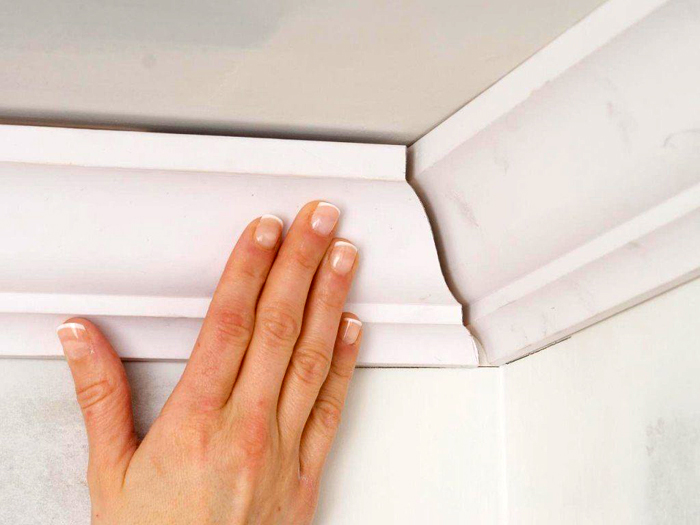
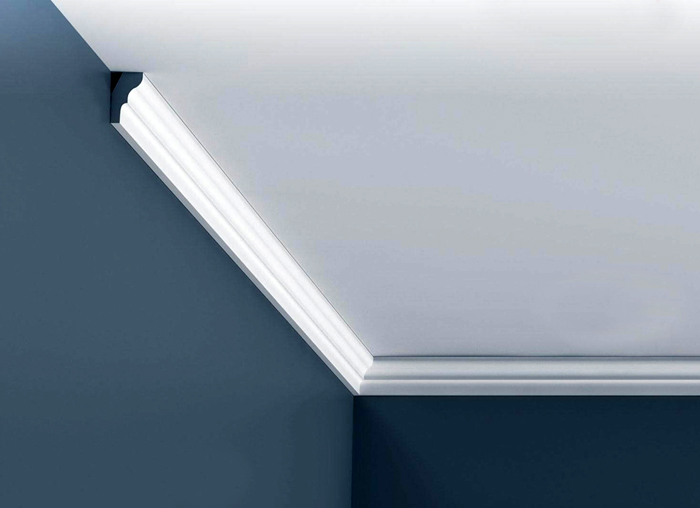
The ceiling plinth is called a baguette, frieze, fillet and is used to decorate ceilings. These products go well with any wallpaper, ceiling coverings, plaster, painted walls and ceilings.
Skirting boards are used in almost all styles, but where they are definitely superfluous is in high-tech.
We will analyze below how to properly glue a foam plinth, and now we will consider what options for fillets are available, and clarify what is the point of them.
A baguette is needed if:
Now let's discuss the assortment of fillets.
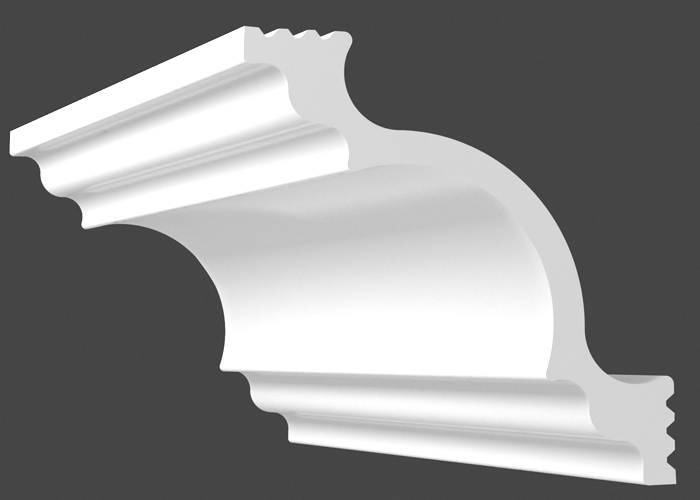
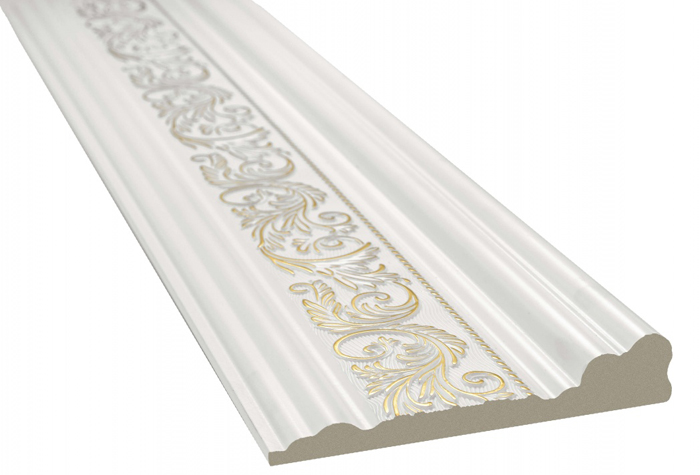
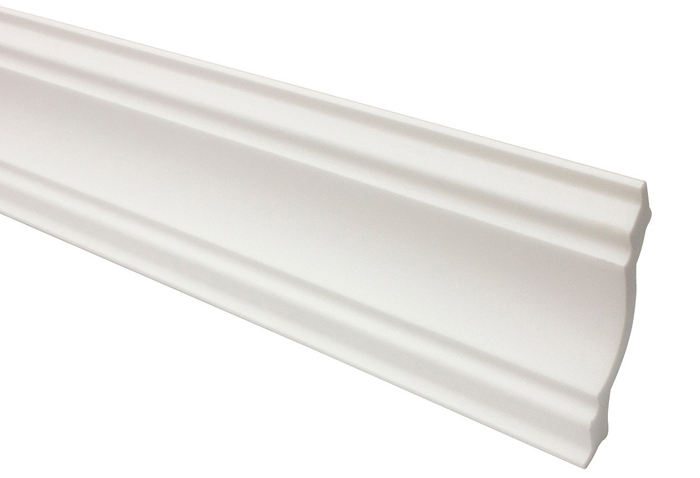
Baguette material:
How to glue the ceiling plinth correctly: glue or putty
Before considering the question of how to glue fillets, we will find out what exactly they are glued with. There are several ways, let's deal with two main ones.
How to glue the ceiling plinth to the putty
An excellent adhesive composition is the finishing putty, with which the walls were previously treated. This method is used on plastered and plasterboard walls.
The fact is that if you carry out the installation already on the finished walls, then white traces of the putty mixture will remain on the wallpaper.
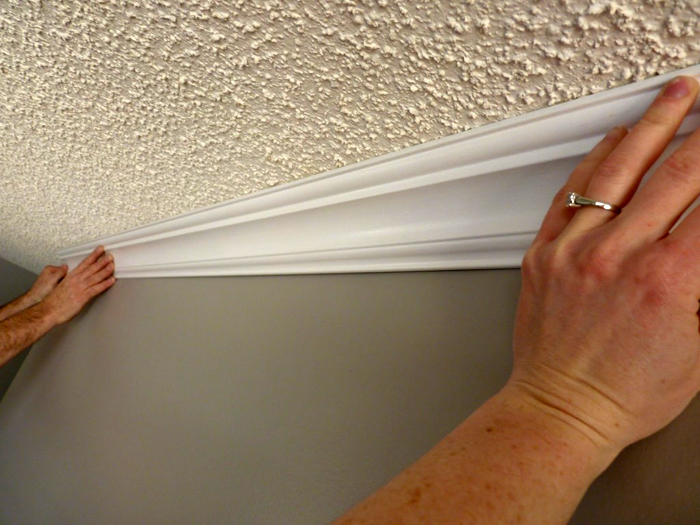
In general, the method is good where the walls cannot surprise with their evenness and perfection.
PHOTO: couo.ru
Preparatory work and installation
The putty is prepared as prescribed by the instructions, but reducing the volume of water by 6-10%, which will give it the desired consistency.
Installation can be started from any corner. On the inner sides of the baguette, putty should be applied in one layer and the element should be installed in its place. Fixation is done by hand for 1-2 minutes.
Excess composition is likely to protrude from under the fillet, they should be removed. With the resulting uneven joint, it is corrected with a solution.
Mounting with adhesive for ceiling plinth
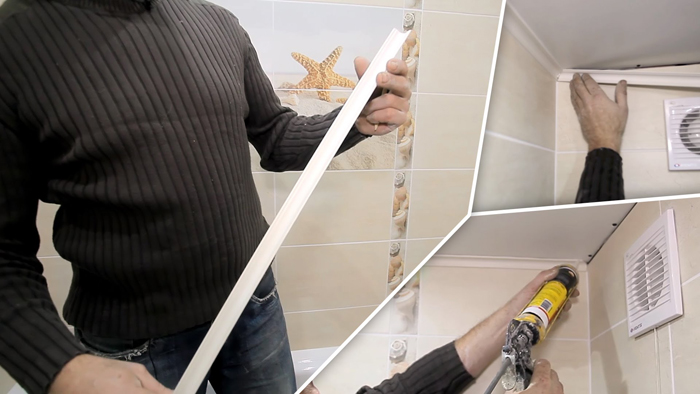
How to properly glue a Styrofoam ceiling skirting board? It is better to use special glue here.
The choice of adhesive for ceiling plinth made of foam, polyurethane, PVC profile
For this purpose, purchase polymer glue "Dragon" or the more common "Titan". Application is carried out on the inner sides by a drop method. The step between the drops is about 3-5 cm. They are applied in a checkerboard pattern on each side.
This will transfer some of the glue to the wall and ceiling. The strands of glue are removed and wait 2 minutes: during this time the glue will wear off, and you can press the plinth again, but you need to hold it for about a minute.
You can purchase an adhesive called liquid nails. It is also applied in a checkerboard pattern on the inner edges, but the plinth is glued immediately after application.
We bring to your attention a video on how to glue a foam ceiling tile

For perfection in detail: how to shape corner and intermediate joints
How to glue a polystyrene ceiling skirting board if the room has corners and molding joints are formed? And the joints will be, because the length of the moldings will still not be enough. In fact, there is nothing complicated, let's study this process more closely.
How to cut the corners of the ceiling plinth correctly
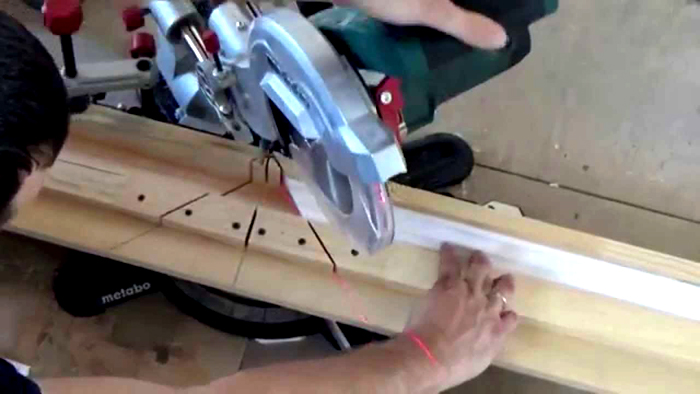
How to cut a corner of a ceiling plinth correctly? It is best to do this with a miter box, which is designed for such purposes. It allows you to cut the rail at a precise angle.
For such a cut, you need to prepare the moldings themselves and a number of tools: a hacksaw for metal or a stationery knife, a miter box with a goniometer, a ruler and a pencil. If the angles are non-standard, then you will need to work with a construction knife with replaceable blades.
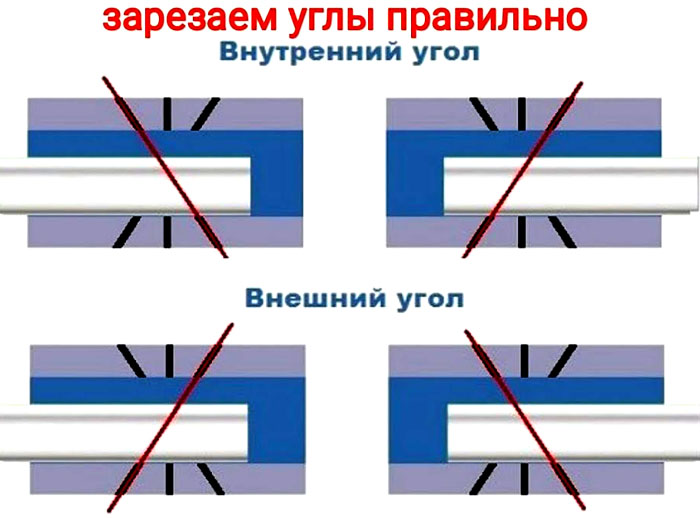
All planks are cut from the front side, and if the corner is external, then the cut goes along the inside
PHOTO: youtube.com
Unfortunately, if the angles are not straight at all, then the miter box will only help approximately, you will have to be content with constant live measurements. But anyway, first, two baguettes are cut, which must be joined, and then they are already adjusted with a construction blade. Processing is done on two elements at once.
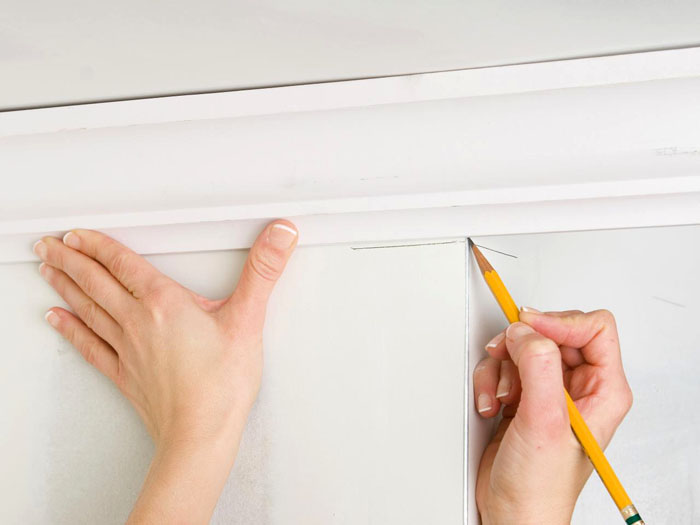
If there is no miter box, and the corners are not pleasing with their straightforwardness, a paper stencil is made that completely copies the corners of the room
PHOTO: guruotdelki.ru
How to glue skirting boards to the ceiling in corners and intermediate joints
Outside corners are more difficult, often requiring filler and abrasive treatment. After that, there is nothing left but to glue the ceiling plinth in the corner and move in a straight line.
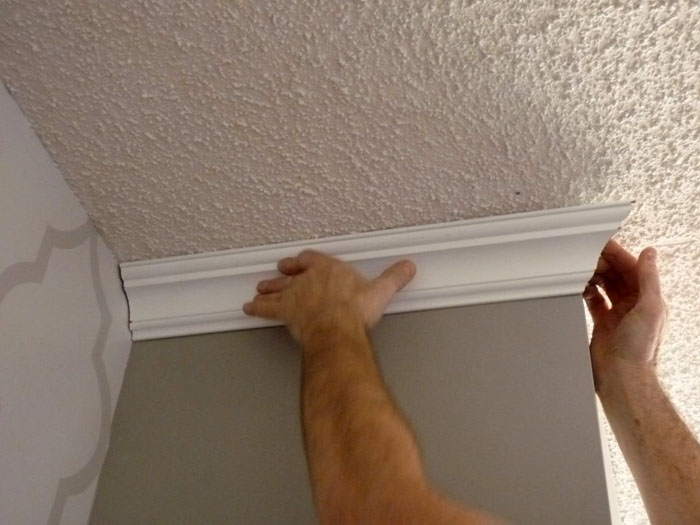
Corner docking is done in two ways, they are selected depending on whether it is an external corner or an internal one
PHOTO: ukrsmeta.ua
For interior corners, keep in mind that the bottom will protrude above the top. In the case of the outer corner, the opposite is true.
If the plinth is glued to the left, then the cut is on the right, respectively, with the right plank, the cut will be on the left.
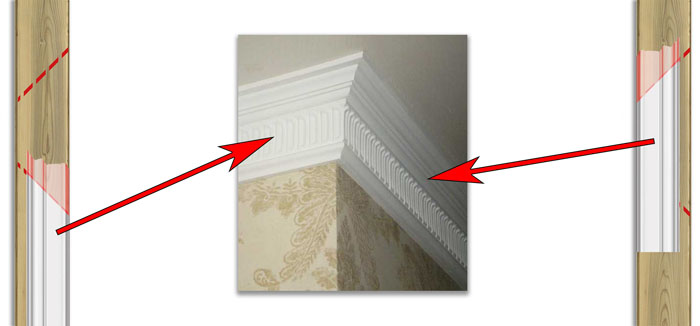
You need to know how to glue the ceiling plinth in the corners to get it smooth and neat
PHOTO: corpsnab.com
What to glue first: wallpaper or ceiling plinth
This question is serious and worries many. And in that, and in the other version, you need to perform the same preparatory work:
For the rest, you need to weigh the pros and cons.
If you glue the skirting boards on the finished wallpaper, then you will not be able to hide the cracks under the gypsum plaster or sealant.
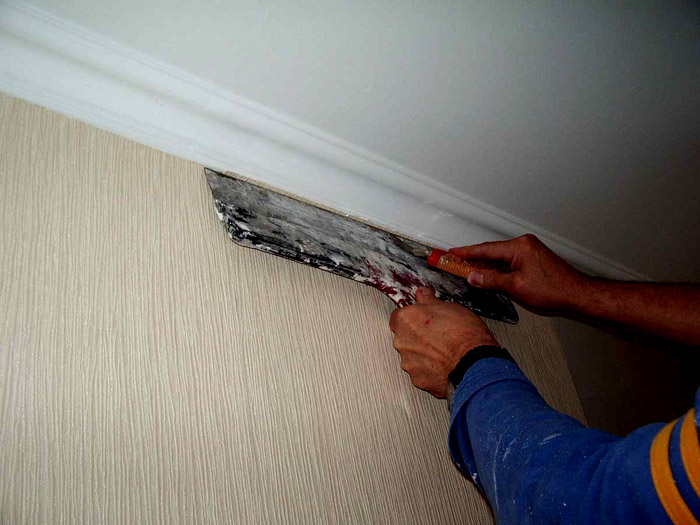
In addition, when decorating the molding, it is easy to stain the walls pasted with wallpaper.
PHOTO: pilorama-chita.ru
But if you are not a master of accurate wallpaper trimming, it makes sense to just hide them under the skirting board by gluing it over.
Tips on how to glue skirting boards to different types of ceilings
Consider the nuances of gluing ceiling moldings on stretch, plasterboard and plastered ceilings.
How to properly glue skirting boards on a stretch ceiling
How to glue the ceiling plinth to a stretch ceiling, we will tell you first of all, today it is the most popular coating.
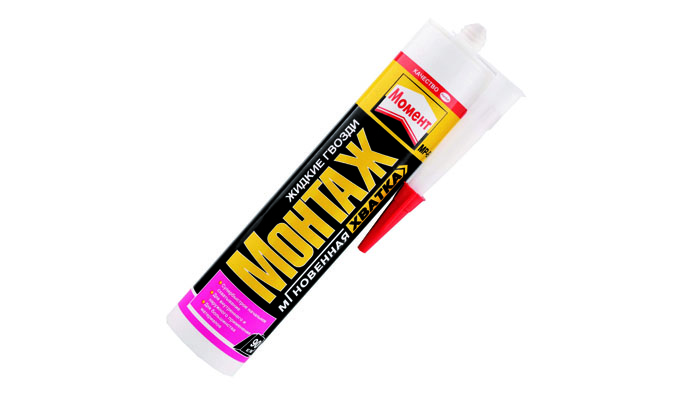
The glue should be transparent or white, not darkening over time: "Instant Installation", "Instant Super Resistant" and "Titanium"
PHOTO: vseprokley.com
If the corners are not used, you will need a miter box, in addition, a standard set of tools. Don't forget about the stepladder.
Pasting is done from any angle: it is better to mark the lower border of the plinth with a pencil. The glue is applied to the molding surface adjacent to the wall, the time set by the manufacturer is waited and you can apply it to the designated place. No glue is applied to the edge adjacent to the ceiling.

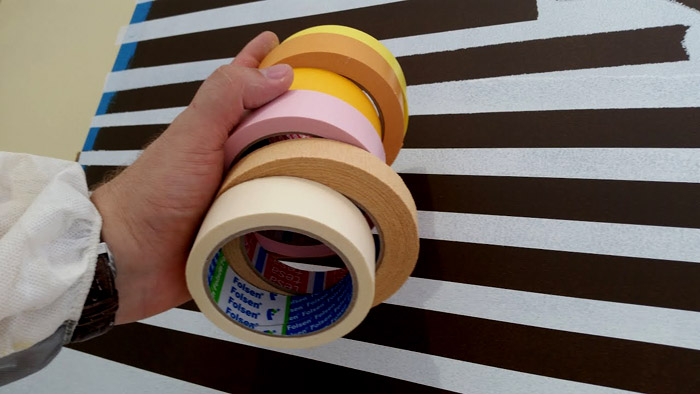
If the wall is not completely flat, the plinth can be pressed down additionally with masking tape
PHOTO: youtube.com
Then the tape is removed without any problems. Gradually paste over the entire perimeter. For accuracy, you will need to measure the distance to the corner in order to know which segment is needed.
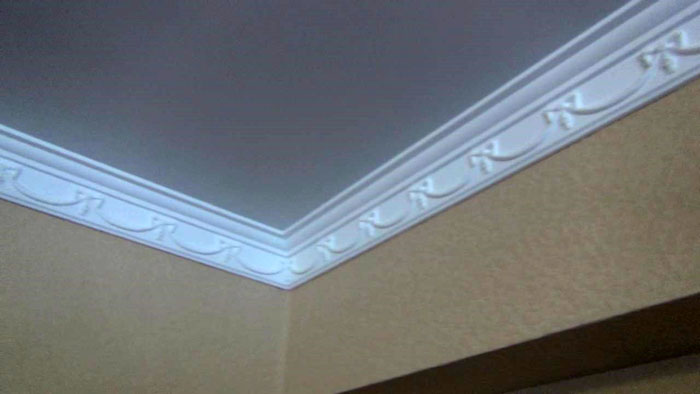
It so happens that only 4-7 cm remains to the corner, in this case it is better to cut the plinth along the length, increasing the corner element
PHOTO: givewhereyoulivehamptons.org
When gluing moldings, glue is applied to the end of one of them. Remove excess glue immediately with a dry cloth.
On drywall
What kind of glue should be used to glue foam ceiling skirting boards if they need to be placed on drywall? The actions are generally the same as when gluing a baguette in the case of a stretch ceiling.
The molding is glued to the drywall to the wallpaper, and so that the baguette is one piece with the surfaces, all joints are coated with putty and painted to match
On a plastered surface
A few words about how to glue baguettes on a plastered surface. It is better to take not glue, but a finishing putty, applying it in a thin layer on the inner edges of the molding. But this can be done only where there is still a decorative surface finish with wallpaper, because almost indelible stains will definitely remain on the walls.
How to finish a ceiling plinth
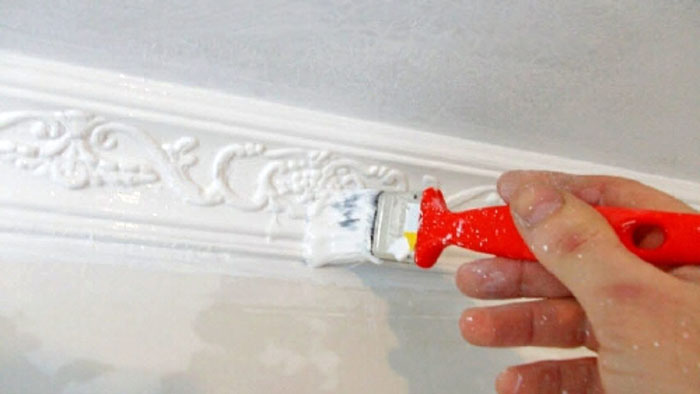
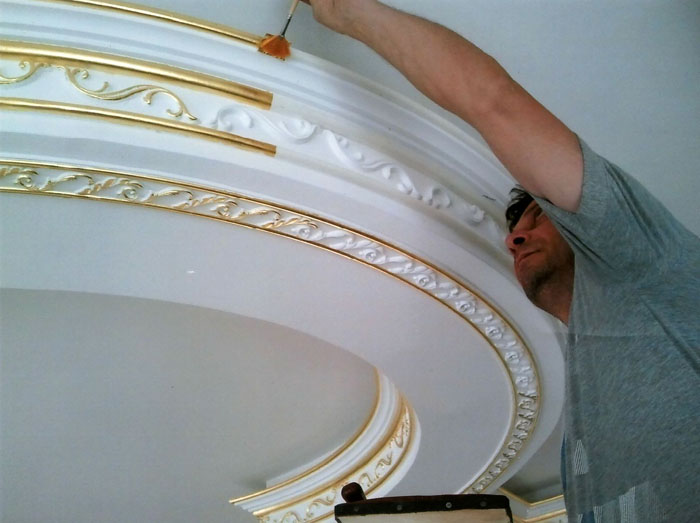
Baguettes under the ceiling are painted at will. This helps to achieve greater decorativeness and mask the filler in the cracks.
The work is carried out as follows:
Watch a video that shows how ceiling plinths are glued.
Video: how to glue a ceiling plinth

Happy sticking!


